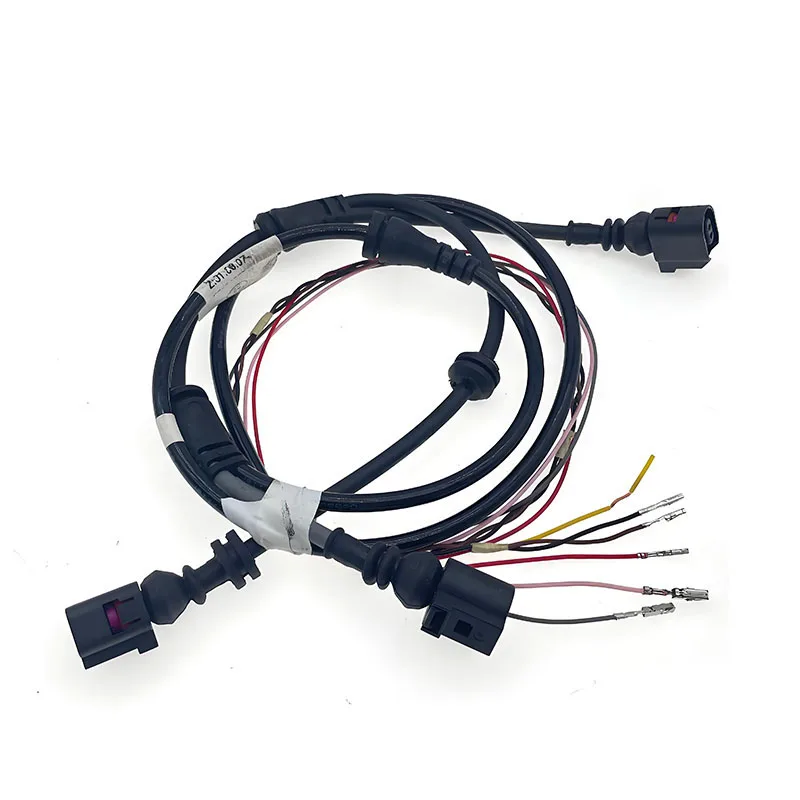
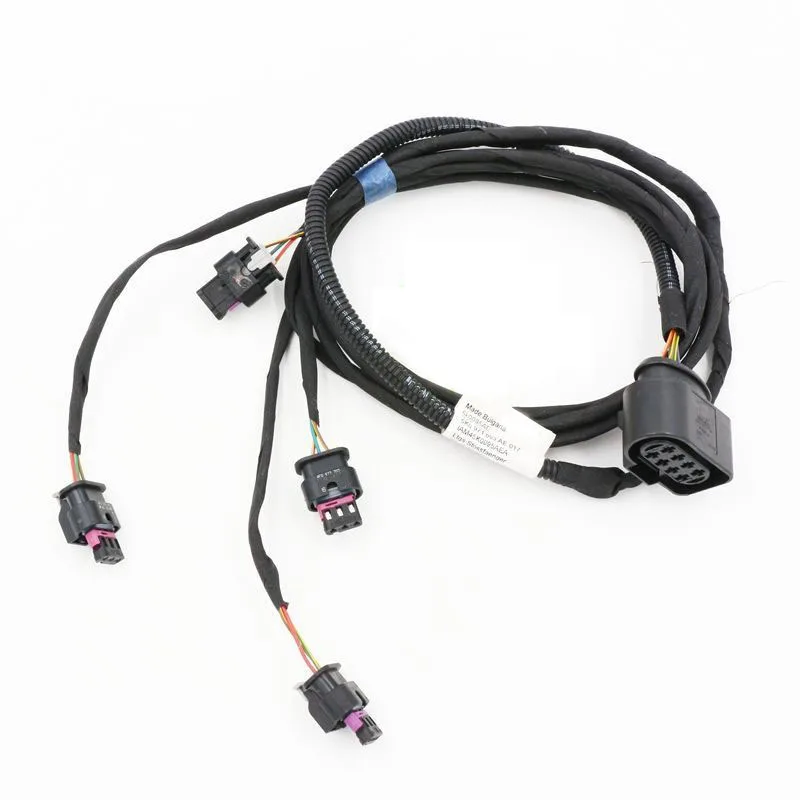
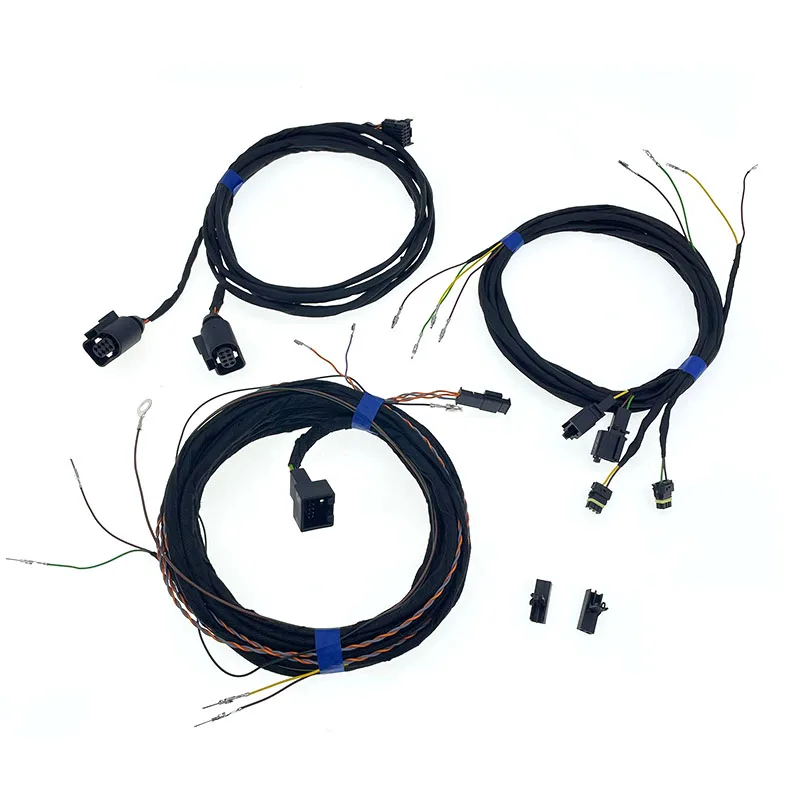
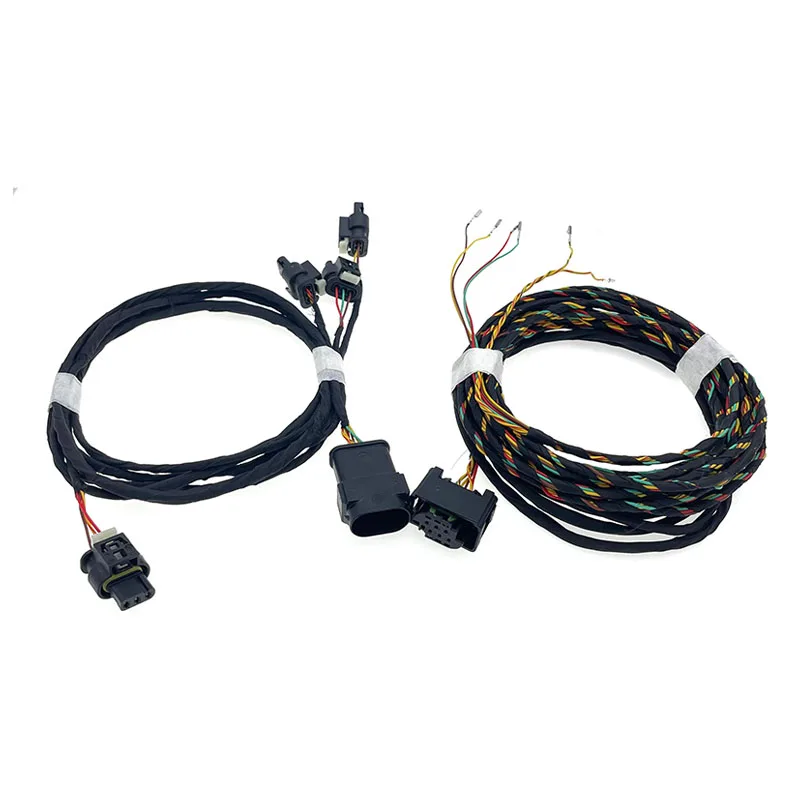
The 06F971082K wiring harness serves as a critical electrical connection component for Audi A1 MK1 models, specifically designed to manage power distribution and signal transmission within the engine bay. This OEM-specification harness ensures proper communication between engine control units and various sensors, making it essential for maintaining factory-level performance and reliability.
Understanding the 06F971082K Part Number
The part number 06F971082K follows Volkswagen Group's standardized coding system, where "06F" designates engine-related electrical components for specific TSI powertrains. The "971" sequence specifically identifies wiring harnesses and cable assemblies, while "082K" represents the variant and supersession revision. This harness typically features multi-pin connectors with sealed housings to protect against moisture, oil, and thermal degradation common in engine compartments.
Original equipment wiring harnesses for Audi A1 MK1 models utilize high-temperature resistant insulation rated for continuous exposure to 125°C, with peak tolerance up to 150°C near exhaust components. The wire gauge varies throughout the harness, typically ranging from 0.5mm² for signal wires to 2.5mm² for power distribution lines, ensuring adequate current capacity for fuel injectors, ignition coils, and sensor circuits.
Compatibility and Fitment Specifications
The 06F971082K harness is engineered specifically for Audi A1 MK1 chassis (8X) produced from 2010 through 2018. However, cross-compatibility exists with certain Volkswagen Group engines sharing the 06F engine designation, particularly 1.4 TSI and 1.8 TSI variants. Verifying your current harness part number before ordering is crucial, as minor production changes resulted in multiple revisions throughout the model run.
Connector pinout configurations must match exactly to ensure proper sensor readings and actuator control. The harness interfaces with critical components including camshaft position sensors, knock sensors, fuel pressure regulators, and throttle position sensors. Mismatched connectors can result in check engine lights, rough idle, or failure to start, even if the physical connector appears to fit.
Engine Bay Routing Considerations
Proper routing of the 06F971082 K wiring harness requires attention to factory-specified clip positions and protective sleeves. The harness must maintain adequate clearance from moving components like serpentine belts and engine mounts, while avoiding contact with hot surfaces including the exhaust manifold and turbocharger housing. Factory service documentation indicates minimum 25mm clearance from heat sources and secure anchoring every 150-200mm along its length.
Installation Process and Technical Requirements
Replacing the engine wiring harness requires partial disassembly of intake components and accessory brackets to access all connection points. Allow 3-4 hours for complete installation if performed without specialized tools. Disconnect the battery negative terminal at minimum 15 minutes before beginning work to allow capacitors in the ECU to discharge fully, preventing potential damage to sensitive electronics.
Each connector features a locking mechanism that must be fully disengaged before removal—forcing connectors risks breaking retention tabs that cannot be adequately repaired. Clean connection points with electrical contact cleaner and inspect for corrosion or bent pins. Apply dielectric grease to sealed connectors to enhance moisture protection and facilitate future removal.
Common Installation Mistakes
The most frequent error involves incorrect routing that places stress on connector bodies or creates sharp bends in the wire bundle. Wiring harnesses contain multiple conductors that can develop internal breaks if bent beyond their minimum radius, typically 10 times the harness diameter. Another common issue is failing to secure the harness with all factory clips, allowing vibration-induced wear against metal edges.
Quality Assessment for Aftermarket Options
Aftermarket wiring harnesses vary significantly in construction quality. Premium replacements use TXL-rated wire with cross-linked polyethylene insulation offering superior chemical and abrasion resistance compared to basic PVC insulation. Connector housings should be manufactured from high-temperature nylon (typically PA66-GF) rather than generic plastics that become brittle with heat cycling.
Recommended Products
Hand-picked accessories related to this article
Inspect wire terminal crimps carefully—quality harnesses feature mechanically crimped and often soldered connections providing redundant electrical contact. Inferior products may use crimps alone, which can develop high resistance over time as oxidation occurs. The wire bundle should incorporate flame-retardant corrugated loom or braided sleeving throughout its length, not just at high-exposure points.
Diagnostic Indicators for Harness Failure
Wiring harness degradation typically manifests as intermittent fault codes that appear and disappear without clear patterns. Common symptoms include erratic idle speed, hesitation during acceleration, or multiple sensor circuit codes appearing simultaneously. Physical inspection may reveal cracked insulation, particularly where the harness flexes near the engine mount or passes through the firewall grommet.
Oil contamination accelerates harness failure, as petroleum-based fluids degrade standard PVC insulation. Check for oil seepage from valve cover gaskets or camshaft seals that may be saturating the harness. Even without visible damage, oil-soaked harnesses should be replaced as internal conductor corrosion progresses despite intact outer appearance.
Preventive Maintenance Recommendations
During routine service intervals, visually inspect the engine harness for chafing points and secure any loose sections. Apply additional spiral wrap or split loom to areas showing wear patterns. Ensure heat shields remain properly positioned to protect the harness from radiant heat. Address oil leaks immediately to prevent chemical degradation of insulation materials.
Key Takeaways
- Verify exact part number compatibility with your Audi A1 MK1 engine variant before purchasing
- Quality harnesses feature TXL-rated wire with high-temperature nylon connectors and proper shielding
- Installation requires 3-4 hours with proper routing and securing of all factory clip positions
- Intermittent fault codes and erratic sensor readings indicate potential harness failure
- Oil contamination is the primary cause of premature wiring harness degradation
Frequently Asked Questions
Can I repair individual wires instead of replacing the entire harness?
While temporary repairs are possible using solder and heat shrink tubing, full harness replacement is recommended when multiple circuits show degradation. Repaired sections rarely match the reliability of intact wiring and may fail at repair points due to increased resistance or inadequate insulation restoration.
How do I verify if 06F971082K is the correct part for my vehicle?
Check your existing harness for printed part numbers, typically located on a tag near the main connector bundle. Alternatively, use your VIN with ETKA parts catalog or dealer parts department to confirm the exact specification for your production date and engine code.
What causes wiring harness failure in Audi A1 models?
Primary failure modes include heat degradation near exhaust components, oil contamination from gasket leaks, mechanical wear from improper routing, and corrosion within connectors exposed to moisture. Regular inspection and addressing oil leaks promptly extends harness service life significantly.
Are aftermarket harnesses reliable for long-term use?
Quality aftermarket harnesses using OEM-specification materials provide comparable reliability to factory parts. Verify the product uses appropriate wire gauge, temperature-rated insulation, and sealed connectors with proper retention mechanisms. Avoid economy-grade options with generic connectors or inadequate protective sleeving.
This article was produced through comprehensive AI-powered research and editorial tools. While we strive for accuracy, all vehicle modifications, product purchases, and installation decisions are undertaken entirely at your own risk and responsibility. We recommend consulting a qualified automotive professional before making any changes to your vehicle.