The Fit For Golf MK7 Golf 7 Gauge Cluster Surround Bezel Speedo Trim Piano Black (OEM part number 5GG 857 189) provides a straightforward interior refresh for 2015-2017 Golf models. This trim piece frames the instrument cluster, and upgrading to piano black finish transforms the cabin's visual appeal without extensive modification.
Understanding the Gauge Cluster Surround Bezel
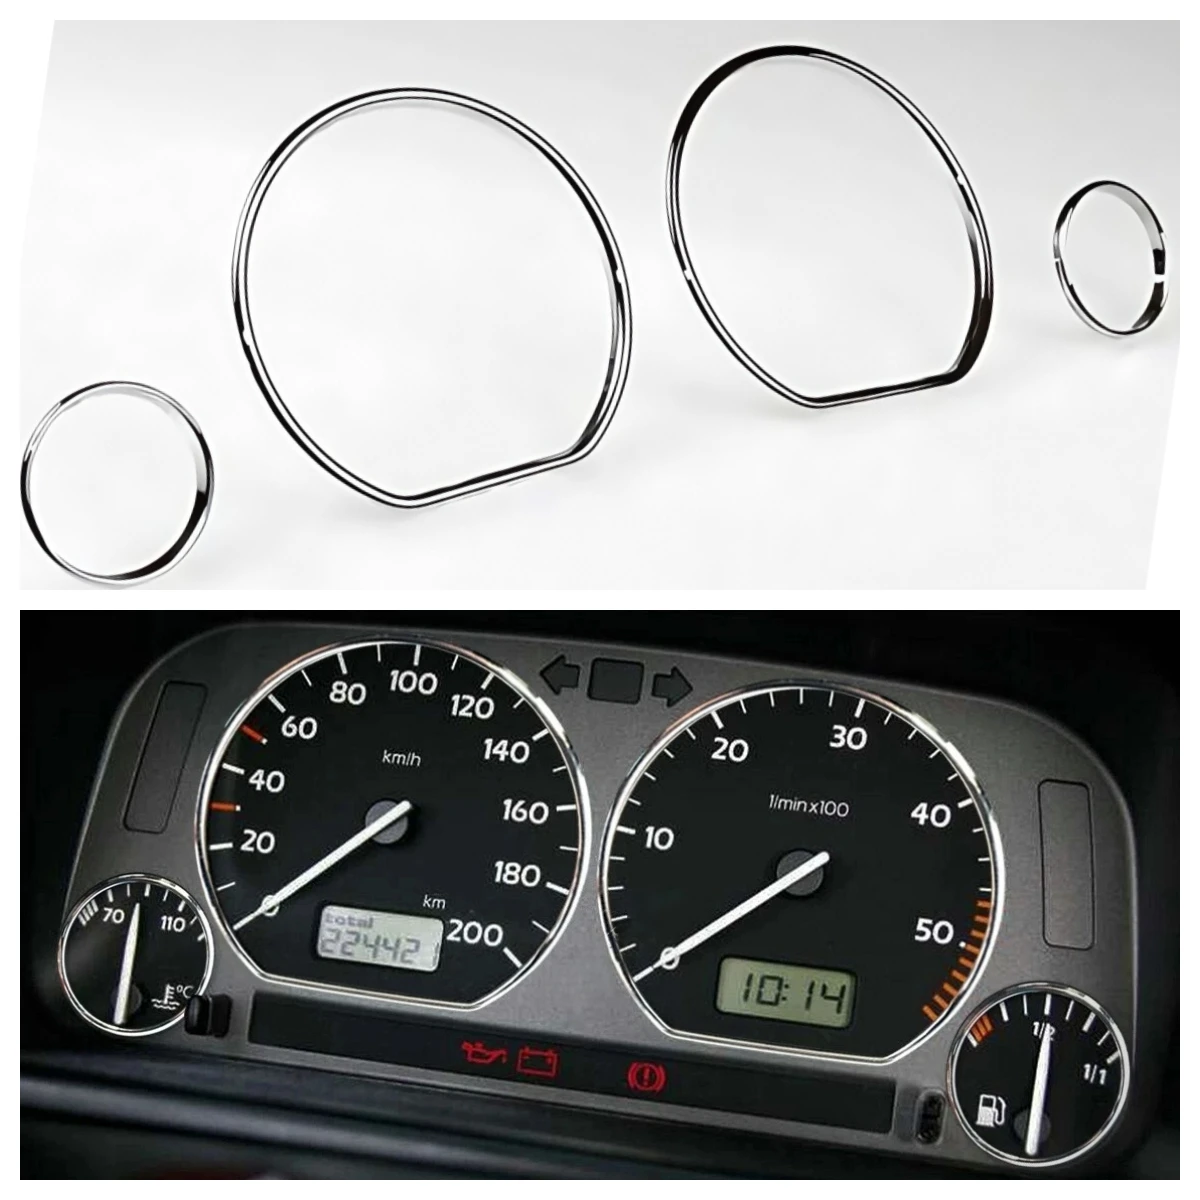
The gauge cluster surround bezel is the plastic trim frame surrounding your speedometer, tachometer, and digital display. On Golf MK7 models, this component often shows wear from sun exposure, scratches from cleaning, or simply doesn't match upgraded interior trim. The factory typically installs matte or textured black plastic, while the piano black variant delivers a glossier, more upscale appearance that coordinates with modern infotainment bezels and door trim accents.
Part number 5GG857189 is the official Volkswagen designation for this component. Aftermarket suppliers manufacture direct replacements using ABS plastic with high-gloss piano black coating. The trim measures approximately 220mm wide by 140mm tall, designed specifically for seventh-generation Golf cluster configurations. Fitment applies to standard Golf, GTI, and R models within the 2015-2017 production window, though some late 2014 models with MK7 architecture may also be compatible.
OEM Versus Aftermarket Quality Considerations
Original Volkswagen parts use UV-stabilized ABS plastic with multi-layer piano black coating resistant to yellowing and hazing. Aftermarket versions vary significantly in quality. Premium aftermarket bezels replicate OEM specifications with proper thickness (typically 2.5-3mm ABS), accurate mounting clip placement, and durable gloss coatings. Budget options may use thinner plastic that flexes during installation or inferior paint that shows fingerprints and micro-scratches immediately.
Identifying quality aftermarket bezels requires examining several factors. Check that mounting clips are molded into the bezel rather than glued as separate pieces. Verify the gloss finish has depth and clarity rather than appearing milky or orange-peeled. The bezel should have slight flexibility without feeling flimsy—overly rigid plastic tends to crack during installation. Proper fitment includes precise cutouts for the cluster hood release and any ambient light sensors your specific model requires.
Installation Process and Technical Details
Removing the existing cluster bezel requires careful prying to release six to eight retention clips without breaking tabs. Begin by tilting the steering wheel to its lowest position and pulling the bezel's bottom edge first. Work around the perimeter using a plastic trim removal tool—never metal screwdrivers that mar surrounding surfaces. The bezel disconnects without removing the entire instrument cluster, making this a 10-15 minute task for most DIY installers.
Before installing the new piano black bezel, clean the cluster face and surrounding dashboard area thoroughly. Fingerprints and dust particles become highly visible under glossy trim. Test-fit the new bezel by aligning top clips first, then pressing firmly around the perimeter until all retention points click securely. The bezel should sit flush with no gaps exceeding 0.5mm. Uneven gaps indicate misaligned clips or incompatible fitment for your specific cluster variant.
Compatibility Across Golf MK7 Variants
The 2015-2017 Golf MK7 platform includes multiple cluster configurations affecting bezel compatibility. Base models with analog speedometer/tachometer and small MFI display use the standard 5GG857189 bezel. Upgraded Digital Cockpit models (available from 2016 onward on certain trims) require completely different bezels due to altered screen dimensions. GTI and Golf R models with performance-oriented cluster graphics use identical physical bezels to standard Golf variants—only the internal gauge graphics differ.
Regional variations also affect fitment. North American, European, and Asian-market Golf MK7 models share the same basic bezel architecture, though some markets received slightly different mounting clip reinforcement. The most critical compatibility factor is cluster generation: pre-facelift (2015-2016) versus facelift (2017) models have identical bezel dimensions. Late 2017 and 2018 models transitioning to MK7.5 specifications may require updated bezels with revised sensor cutouts.
Maintaining Piano Black Finish
Piano black trim requires specific maintenance to preserve its gloss and prevent swirl marks. Use only microfiber cloths—paper towels and standard rags create microscratches visible under direct sunlight. Clean with dedicated plastic polish or quick detailer rather than glass cleaner, which can dull the finish over time. Avoid ammonia-based products that degrade the clear coating protecting the black base layer.
Recommended Products
Hand-picked accessories related to this article
Expect piano black surfaces to show fingerprints and light dust more readily than matte finishes. This visibility doesn't indicate inferior quality—it's inherent to high-gloss surfaces. Applying ceramic coating products designed for interior trim can reduce fingerprint visibility and make cleaning easier. For daily driving, keep a microfiber cloth in the glovebox for quick wipe-downs. Direct sunlight exposure accelerates any coating degradation, so windshield sunshades benefit long-term appearance preservation.
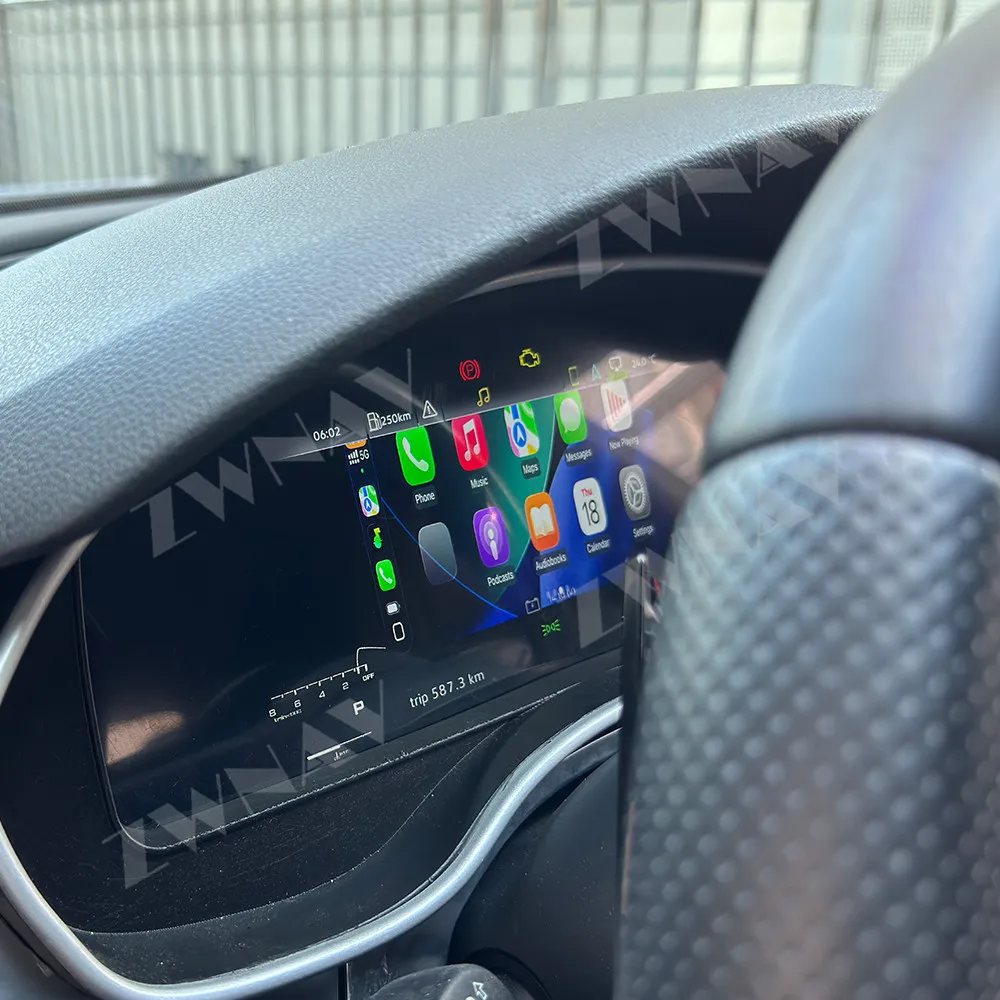
Alternative Options and Upgrades
Beyond simple bezel replacement, some enthusiasts pursue full cluster upgrades. Complete LCD dashboard systems, like those available from specialized suppliers, replace the entire instrument cluster assembly with digital displays offering customizable layouts. These comprehensive upgrades typically cost €1,400-1,600 and require coding to integrate with Golf MK7 CAN bus systems. While visually dramatic, full cluster replacement involves significantly more installation complexity than bezel swaps.
Other bezel finish options include carbon fiber, brushed aluminum, and color-matched painted variants. Carbon fiber bezels appeal to performance enthusiasts but may clash with interior trim unless part of a cohesive upgrade package. Brushed metal finishes offer fingerprint resistance superior to piano black while maintaining premium aesthetics. Some suppliers offer custom-painted bezels matching Volkswagen interior color codes for seamless integration with specific trim packages.
Key Takeaways
- OEM part number 5GG857189 ensures correct fitment for 2015-2017 Golf MK7 standard clusters
- Piano black trim requires microfiber cloths and plastic-specific cleaners to maintain gloss finish
- Installation takes 10-15 minutes using plastic trim tools to release retention clips
- Verify your cluster type before purchasing—Digital Cockpit models require different bezels
- Quality aftermarket bezels use UV-stabilized ABS plastic with multi-layer gloss coating
Frequently Asked Questions
Will this bezel fit my GTI or Golf R?
Yes, GTI and Golf R models from 2015-2017 use identical gauge cluster surround bezels to standard Golf variants. The internal cluster graphics differ between models, but the physical bezel dimensions and mounting points remain the same across all MK7 trims without Digital Cockpit.
How do I prevent scratching the piano black finish?
Use only microfiber cloths for cleaning and avoid paper products entirely. Apply interior ceramic coating to create a protective layer that resists fingerprints and light scratching. Clean regularly with plastic polish rather than glass cleaner, and never use abrasive compounds or ammonia-based products.
Can I install this bezel without removing the steering wheel?
Yes, the cluster bezel removes independently of the steering wheel and instrument cluster assembly. Simply tilt the steering wheel to its lowest position for easier access to the bezel's lower clips. No special tools beyond plastic trim removal tools are required for proper installation.
Does this fit 2018 or newer Golf models?
The 5GG857189 bezel specifically fits 2015-2017 MK7 models. Golf models from 2018 onward transitioned to MK7.5 specifications with revised dashboard designs and different bezel part numbers. Verify your exact model year and cluster type before purchasing to ensure compatibility.
This article was produced through comprehensive AI-powered research and editorial tools. While we strive for accuracy, all vehicle modifications, product purchases, and installation decisions are undertaken entirely at your own risk and responsibility. We recommend consulting a qualified automotive professional before making any changes to your vehicle.